When your Android device wants to alert you of something, this arrives in the form of a notification. These notifications alert you to most elements and apps on your Android device which may have new messages and email, calendar events, update notifications, and other such things that Android feels you, the user, should be aware of. Now depending on their level of urgency or severity, you may want to manage which notifications you want at what time. And since notifications work slightly differently for each app and Android element, you will need to manage and customize them according to how you want.
So this “how-to” will show you how to view and manage notifications. More importantly, you can customize your notification settings so that you get relevant notifications when and where you need them. Remember though, that the way to manage notifications may change from one version of Android to another. This tutorial might be current for Android Nougat and Oreo, but a bit different for lower versions.
The basics
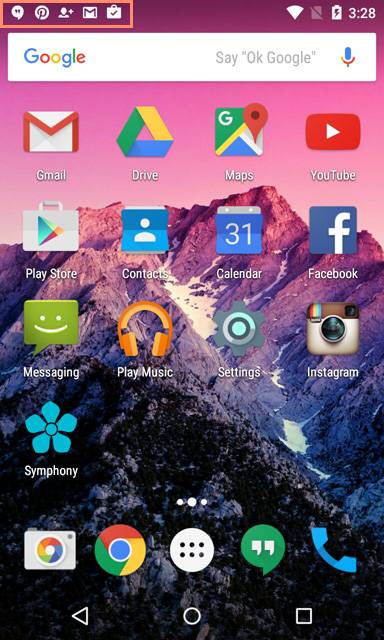
Android displays all current notifications that you have in one place – this is called the notification area.

These are the icons you see at the top-left of your screen. With one glance, you can already tell when you do have notifications that are yet unchecked, and what types of notifications they are. The icons can represent app notifications, system notifications, or messaging notifications.
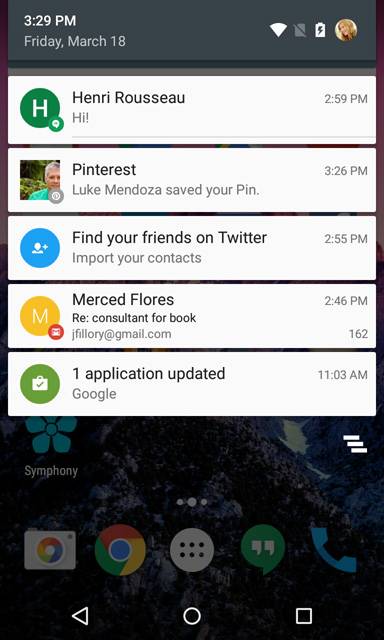
To see a bit more detail, you can swipe down from the top of the screen to open the notification shade/drawer.

On stock Android, this are will show a list of current notifications and some information about each. Tapping on a notification will usually open the app that the notification is associated with. You can dismiss a notification by swiping it left or right. There’s also a “dismiss all” icon that clears your notification drawer of all notifications.
Choose how you are notified
You can choose how your device notifies you. This is how to manage the general way your devices gives you notifications.
- Open your device’s Settings app Settings app.
- Tap Apps & notifications and then Notifications.
- Under “App notifications,” see how many apps have notifications turned off.
- Pick the options you want as your device’s defaults.
- On the lock screen
- Learn how to control notifications on the lock screen.
- Allow notification dots
- Blink light
- Default notification sound
- Swipe fingerprint for notifications
Managing specific app notifications
To change the notifications for specific apps, this is the way you manage those.
- Open your device’s Settings app Settings app.
- Tap Apps & notifications and then Notifications and then App notifications.
- Tap an app.
- Turn Notifications on or off.
- Turn Allow notification dot on or off.
- If the app has notification categories:
- You can turn notifications of a category on or off.
- You can tap a category for more options, like Sound, Vibrate, Show notification dot, Blink light, and Override Do Not Disturb.
Remember, a lot of apps let you control notifications from their own settings menu within the app. You can also make your changes there.
Limiting interruptions
There are times when you want the device to interrupt you with notifications (audio, notifications over your current app, etc.), and there are times when you don’t want them. Fortunately, it is easy for users to customize these settings on Android.
You can mute your device so that it doesn’t make sounds or vibrate. There’s also the “Do Not Disturb” feature, which we talked about already. There are settings that will allow notifications that you prioritize. You can also block visual interruptions – notifications that appear over your current app – via the specific app settings.


