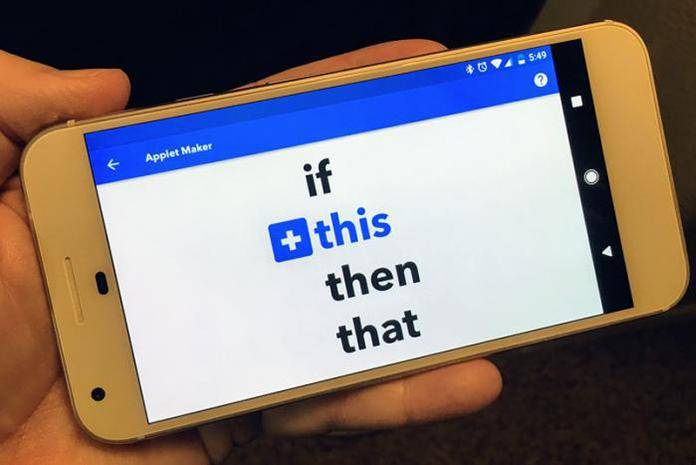
Maybe the only reason why Android users everywhere are not rejoicing over IFTTT is because they don’t know what it is yet. IFTTT is short for codespeak “if this then that” – and it is a revolutionary service that allows users to automate tasks, and even get online devices to communicate with each other. The basic process is that you point to a situation or device – the “this” part – and the service will allow your device to do the “that” part – which is what you want done in certain situations.
If you are the type of user who doesn’t have the time to learn the steep learning curve required for automation apps like Tasker, then IFTTT could be the answer to your automation needs. If you’re like us, you will find IFTTT essential for both saving time and performing tasks that your smartphone wouldn’t be able to do otherwise. As IFTTT has become more popular, more and more services and apps integrate with it. You’ll be hard-pressed to find something that you use without some type of supported IFTTT recipe.
In IFTTT, integrations between apps and your device are probably not the normal tasks your app was designed to do with your device, but because of IFTTT, this is now possible. These integrations that produce a desired result are called “applets.” Allow us to show you how easy it is to get started.
Requirements:
- An Android device that you regularly use for daily tasks
- Install the IFTTT app
Getting started
To start, you will need to install the IFTTT Android app and create an account. Grab the app from the Google Play Store. We also recommend that you enable two-factor authentication. Once you create an account, you’re on your way.

IFTTT actually gives you some nice tips on how to start automation. There will be a good group of suggested applets that you can try. An easy one to start with is the applet that mutes your phone at night, so you don’t have to do it at the prescribed time every night. There are also several IFTTT applets grouped together for services like the Google Assistant, Alexa, and tools like Office 365, Google Drive, and Spotify.
Setting up your applets
Applets that you may need are quite easy to find. Just remember the fact that someone may have already thought about the automation you need, and many excellent applets are already made for users by companies themselves or the extensive IFTTT community. Once you find your applet, all you have to do is click the “on” button and you’re set to go.

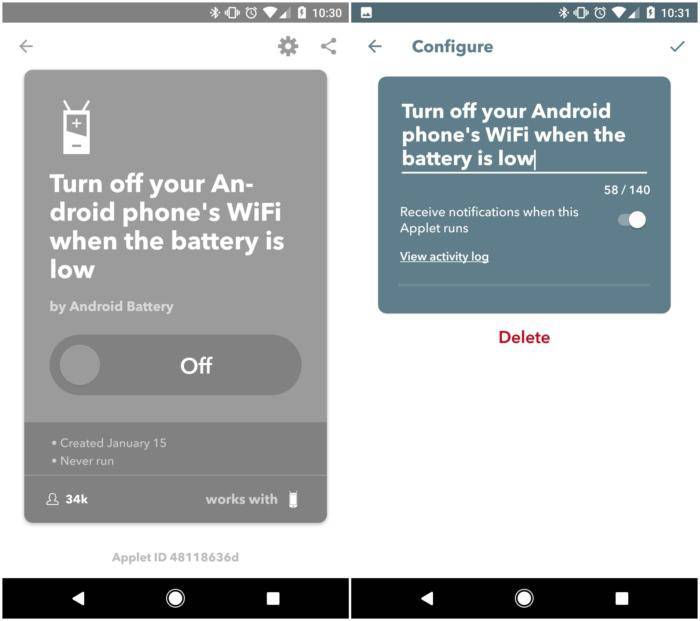
To fine tune the way your applet behaves, it would be good to tap the settings icon (gear icon) to see what settings you can to turn on or off. For instance, most applets have push notifications when they run and you will get a notification each time. That will be negligible if you only have one or two applets, but if you use a large number of applets, this will get pretty annoying. You can pick and choose which applets will send notifications, so that you can anticipate when these notifications arrive.
Finding relevant applets
One of the easiest ways to find applets to use is to look at the suggested groupings compiled by experts at IFTTT. There’s even a specific group for applets targeted at Android users. You can do such tasks as letting you ask the Google Assistant to ring your phone if it’s missing, sending a text message to your phone so that it rings at 100% volume, or logging calls to a Google Sheet.

Once you pick something by a particular app or service, you’ll need to connect it to IFTTT. Grant the requested permissions so you can start using the applet.
Creating your own applet
If you want to delve deep into IFTTT, you’re going to have to learn how to create an applet by yourself. It takes a bit of effort, but it is easy enough so you can personalize what kind of automation you want. Once you master this process, then only your imagination will limit what IFTTT can do.
- Think of a process that you want to automate on your smartphone – whether from your smartphone to an app, or from an app to your smartphone, or from app to app. For this tutorial’s purpose, you can create an applet that sends an email from Gmail to Evernote.
- Go to the Applet maker section of the IFTTT app.
- Select Gmail as the “if”.
- Select Evernote as “that” and set the parameters of exactly how you want this task to be completed.
- Save the applet, and turn it on.
The beauty of IFTTT is that it gets better with experimentation, so IFTTT experts recommend that you experiment with the app as often as possible. IFTTT is strongest when you make the most of it through your own recipes. If you don’t see an applet that does exactly what you want, then you can try to create it yourself.


