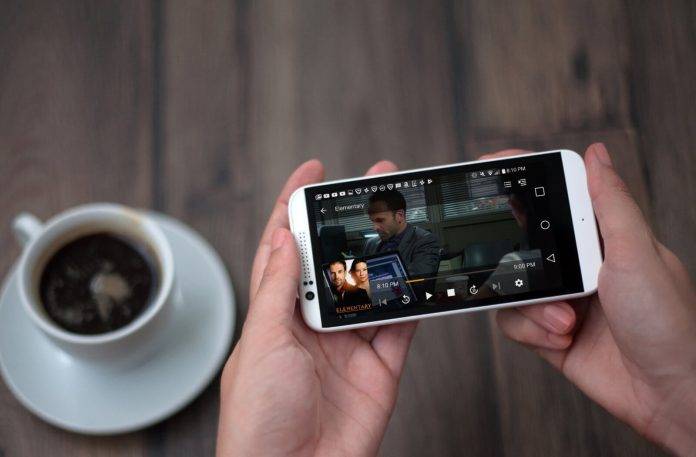
If you’re like most of us who hoard media files – movie files, DVD and Blu-ray rips, personal video files, music files, and pictures – you’ve probably thought of how to access your media files without any hassle at one point or another. You probably store your media in a hard drive somewhere, and you probably could access it if you really wanted to – which would entail connecting that drive to a PC or laptop and getting the specific file you need. If you wanted to say, watch a specific movie on your big screen TV without the hassle of copying files from hard drive to USB flash drive then connecting the USB drive to your TV, that would indeed take some doing. The good news is that Plex is all you need for this.
What is Plex Media Server?
For people who hoard media files, it usually takes a lot of effort for you to access your files on different devices. It usually takes a whole lot of copying files and sending files and transferring files. With Plex, this doesn’t have to be your story. Plex is a centralized media server system that eliminates the hassle you run into while managing and accessing a large media collection.
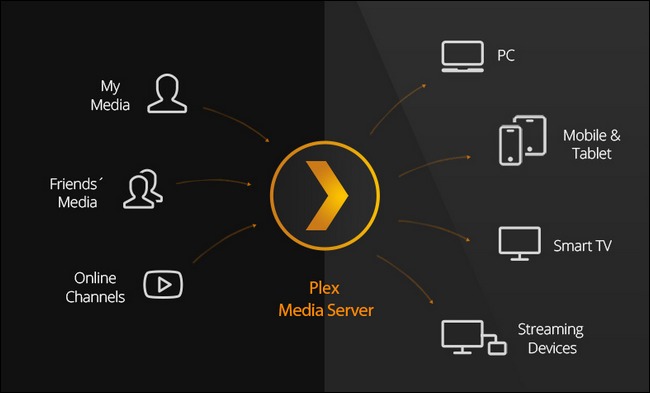
The system Plex applies is pretty simple. You collect and save all your media files a single computer with the Plex Media Server software installed, and then you install the Plex client app on the other device/s that you will access this media with. For our purposes today, this will be an Android device, and an Android device casting to a Chromecast-enabled TV.
Because of the Plex server/client model, you won’t have to worry about copying files to various devices and having issues like playback quality and resolution capability. The beauty of the Plex Media Server is that it transcodes your media on the fly, so that it will play properly on whatever device you’re using. Pretty cool, yes?
Requirements:
1. Server PC – The first thing we will need is a computer that will house all your media files. This is also where you will install the Plex Media Server software. You can install Plex on Linux, OS X, and even on dedicated server software like FreeNAS. For the purposes of this tutorial, we recommend a Windows-powered desktop PC.
Remember, if you want to use Plex, the server PC should be on and connected to the network. In addition to being on, you will need a server computer with decent specs – it will need processing power to handle the transcoding. Usually, you have a one-to-one ratio – one user to one server. But if you want more users to access your media library, the better hardware you will need. For normal usage, your home desktop PC should work – provided that you are not doing anything resource intensive while streaming. An old desktop PC that you’re not using will be perfect for Plex Media Server purposes, again provided that the hardware is not insufficient or really under-powered hardware.
Plex recommend at least a PC with an Intel i3 processor (or equivalent) or better with at least 2GB of RAM. Of course, you’ll need a lot of hard drive space – enough to store all media files you have.
2. Home network – Your server PC will then need to be connected to your home network. Plex does not need all the bandwidth you have, but it will need enough to be able to stream. Your network bandwidth also affects what quality you will be able to stream your medial files – especially if you have high definition movie files. Home networks with modern routers can usually allow you to stream at original quality. Lower bandwidth might mean that you will need to stream at lower resolutions.
3. Plex client app – The other half of the Plex system is the “client” app – the app you use on the device you’ll be watching from. While you can play the media from the server’s web-based control panel a-la Netflix on your web browser, youwill find it is more convenient to watch on your mobile devices or on the TV in your living room. For this, you need the Plex client to access the server.
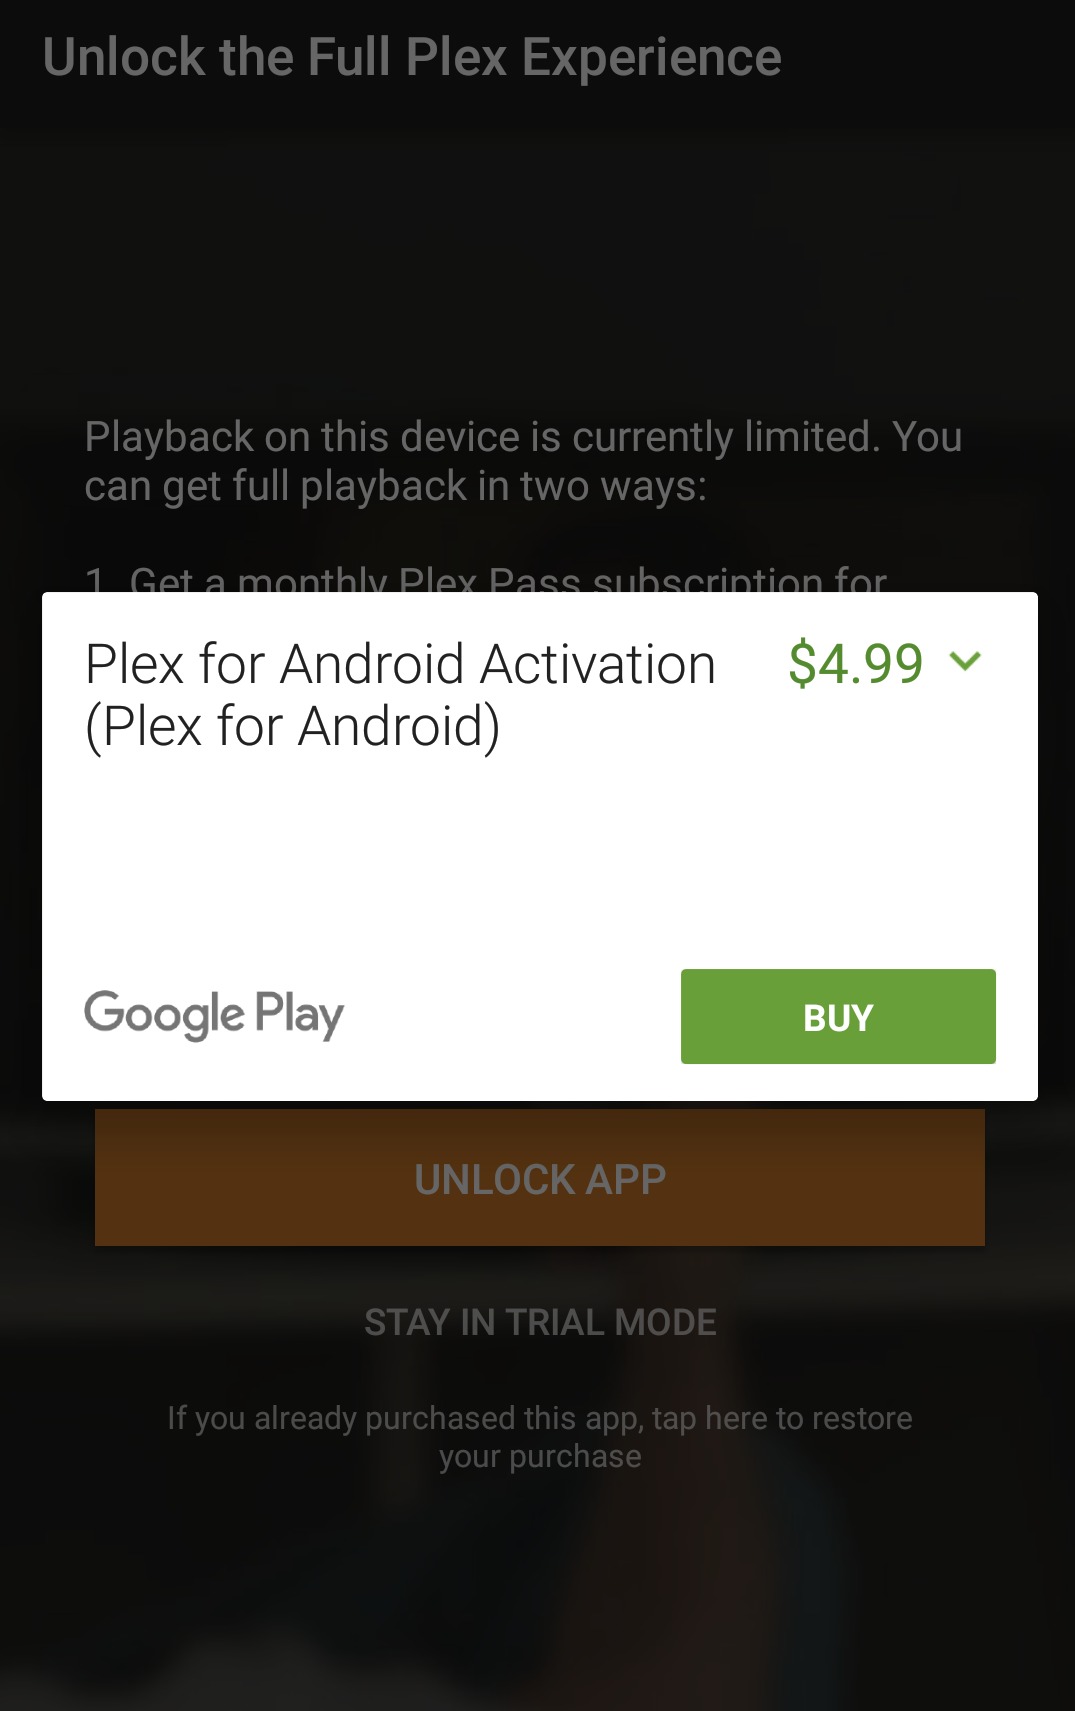
The Plex Media Server software you will install on your PC is free, and has always been free. Some of the client apps are free. But for the purposes of this tutorial, we will need the Android client app, and that has a one-time activation fee of USD$4.99.
Think of it this way. If you only need to watch your media on one type device (e.g. Android device), you may wish to just activate that single app. The other option is to buy a Plex Pass, which is like a subscription service that gives you access to all paid apps for all devices, plus other benefits. If you need to access Plex across multiple platforms, you might consider the Plex Pass subscription for USD$4.99 a month or a USD$149.99 lifetime pass.
From experience, we’ve only ever just needed the Android app, and paying the one-time activation fee has been more than enough.
Setting up the Plex Media Server
1. Consolidate and organize your media – Ok, this may not be your most favorite thing to do in the world, but Plex Media Server needs for your media content to be in one place and organized with a clean folder structure. See the recommended structure below.
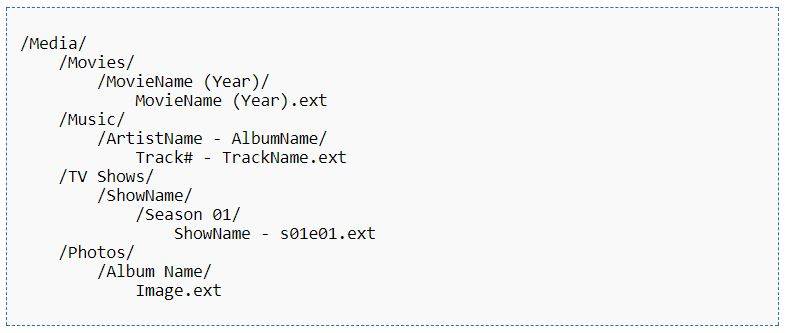
2. Download and install the Plex Media Server software. Then sign in as needed, with an existing Plex account or by creating a new one.
3. Name your server. It needs to be unique enough so you know which machine the server is installed on.
Adding your media folders to Plex Media Server
You can add many different library types to Plex: Films, TV shows, Music, Photos, and Other Videos.
1. Add a library. Select “Films”, for instance. Name your library (“Movies” or any other name), and select the language.
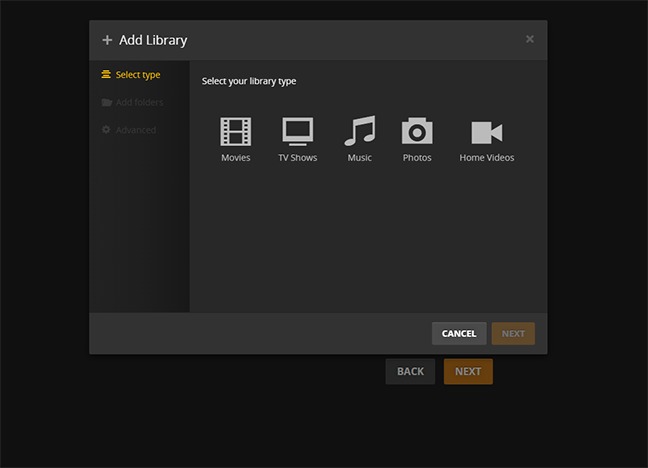
2. Select “Browse for media folder” and select the folder that houses your movie files to point Plex to your movies folder. You can select multiple folders, if your movies are in multiple locations.
3. Once you’ve selected the folder(s), click “Add library” to complete the process. Repeat the process for your other types of media you want to access with Plex (Music, Photos, etc.)
4. Click on “Done” when you’ve finished adding libraries. This will transfer you to the browser-based control panel for your Plex server. Your machine will be working to add the files to the database, and for a while you may see “Updating libraries…”
When your machine is done working – which really depends on how large your collection is and how powerful your server is – you are now ready to stream to your Android device.

Streaming your media on your Android device via Plex
1. Install the Plex Android app to your device. Download via Google Play Store.
2. Activate the app by paying the one-time activation fee.
3. From the list of servers on the top right of your app, your new Plex server should appear – provided that it is online and the Plex program is running on your server.
4. Select your server. The app should now show you which files are available for streaming. Pick a file and play it. Plex should stream said media file to your Android device.
Streaming your media to a Chromecast-enabled TV using your Android device via Plex
1. Make sure that the TV and Chromecast is set up and running correctly. Check our earlier tutorial on how to set up Chromecast on your TV.
2. If Plex is already installed and activated on your Android device, pick a media file you want to play.
3. Tap the “Cast” icon on the top right. This should connect your Plex app to Chromecast and the TV.
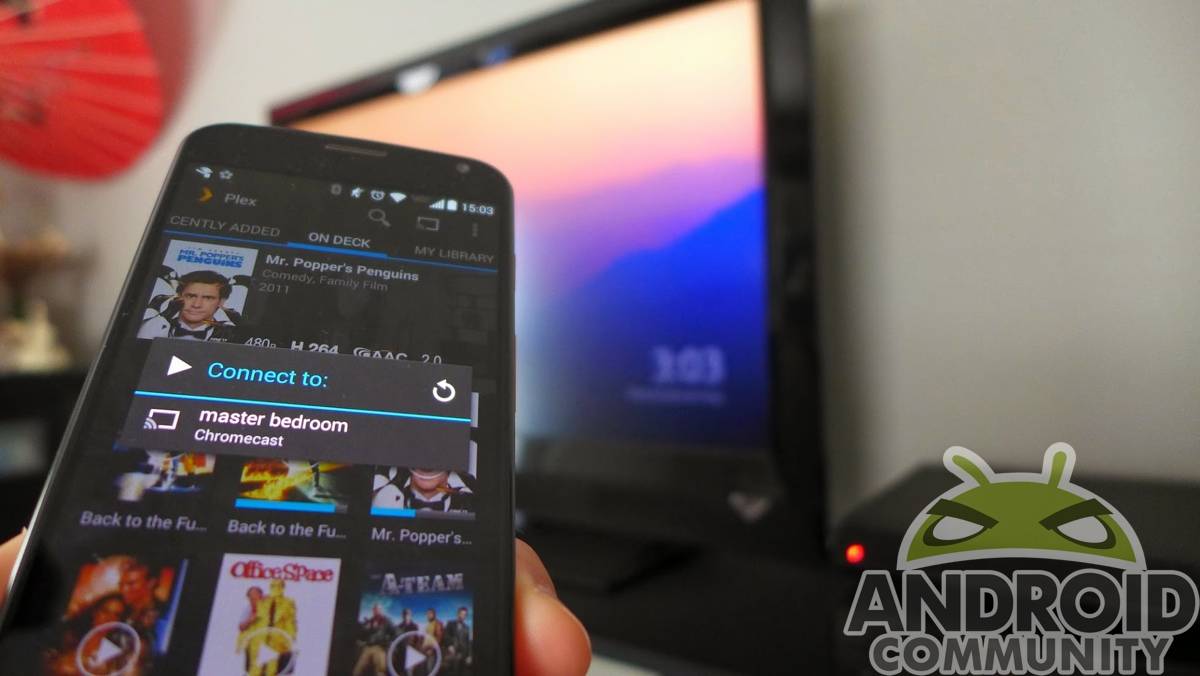
4. Once casting, tap the play icon. The media file should now play on your TV instead of your Android device’s screen.


