A gadget teardown is an important process because it allows geeks and experts to see what’s inside the device. It may be heartbreaking for some but it’s needed for those in the mobile industry who wants to review a certain model. One of the best sources for teardowns is, of course, iFixit. Just recently, a member shared an posted a guide to opening or “tearing down” a Sony Xperia Z5 Compact.
If you’re interested to see what’s inside the new latest Xperia flagship smartphone, watch the video below:
Interestingly, the page has since been pulled out but we’ve managed to get the list and images. Thank you Google cache.
Here are steps to a successful Sony Xperia Z5 Compact teardown but as we would always say, DO THIS AT YOUR OWN RISK:
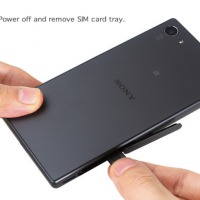
Step 1. Power off and remove SIM card tray.
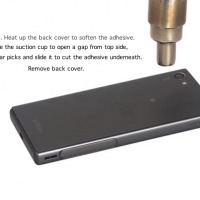
Step 2. Heat up the back cover to soften the adhesive. Place the suction cup to open a gap from top side, then insert guitar picks and slide it to cut the adhesive underneath. Remove back cover.
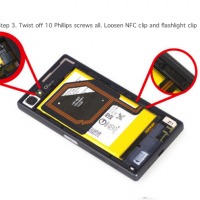
Step 3. Twist off 10 Phillips screws all. Loosen NFC clip and flashlight clip
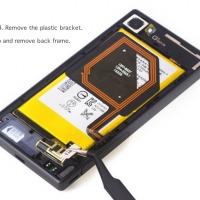
Step 4. Remove the plastic bracket. Pry up and remove back frame.
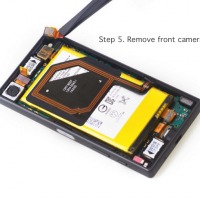
Step 5. Remove front camera.
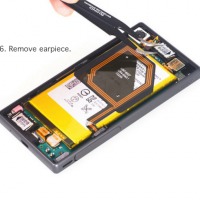
Step 6. Remove earpiece.
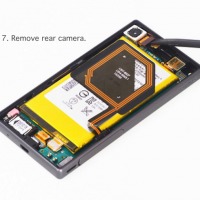
Step 7. Remove rear camera.
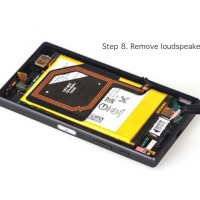
Step 8. Remove loudspeaker.
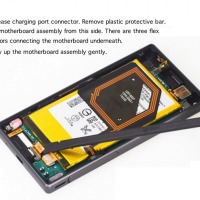
Step 9. Release charging port connector. Remove plastic protective bar. Pry up motherboard assembly from this side. There are three flex connectors connecting the motherboard underneath. So pry up the motherboard assembly gently.
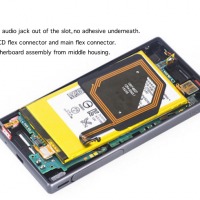
Step 10. Push audio jack out of the slot, no adhesive underneath. Release LCD flex connector and main flex connector. Separate motherboard assembly from middle housing.
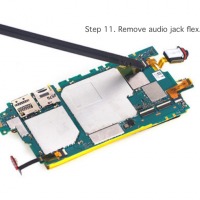
Step 11. Remove audio jack flex.
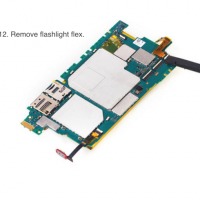
Step 12. Remove flashlight flex.
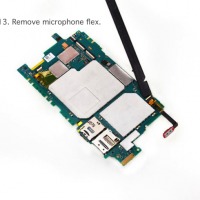
Step 13. Remove microphone flex.
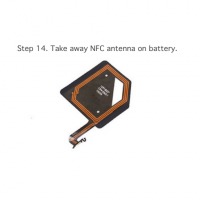
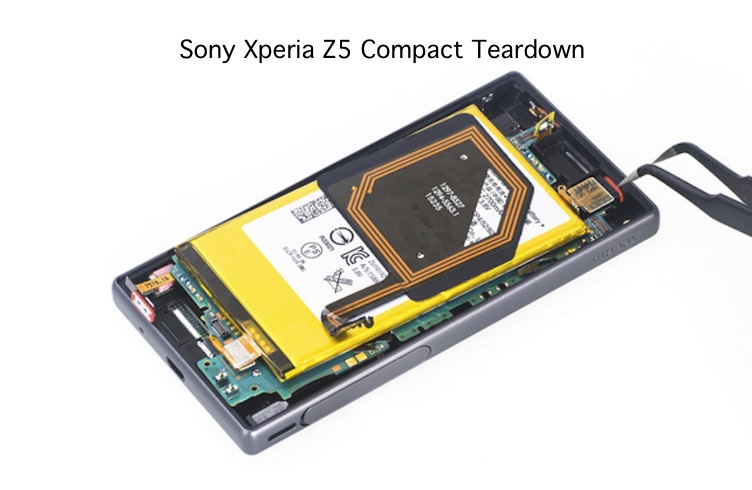
Step 14. Take away NFC antenna on battery.
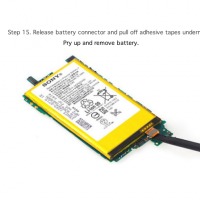
Step 15. Release battery connector and pull off adhesive tapes underneath. Pry up and remove battery.
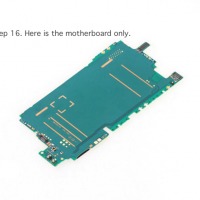
Step 16. Here is the motherboard only.
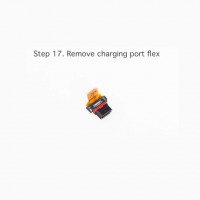
Step 17. Remove charging port flex
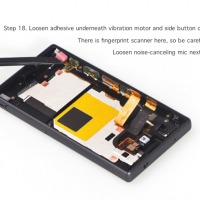
Step 18. Loosen adhesive underneath vibration motor and side button connectors.There is fingerprint scanner here, so be careful to loosen it. Loosen noise-canceling mic next.
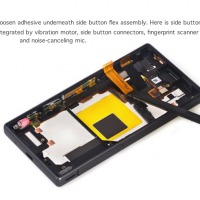
Step 19. Loosen adhesive underneath side button flex assembly. Here is side button flex assembly. It’s integrated by vibration motor, side button connectors, fingerprint scanner connector and noise-canceling mic.
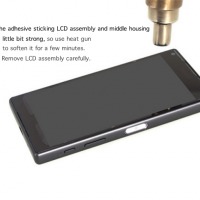
Step 20. The adhesive sticking LCD assembly and middle housing is a little bit strong, so use heat gun to soften it for a few minutes. Remove LCD assembly carefully.
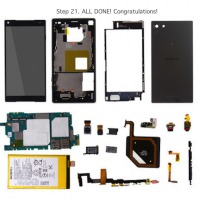
Step 21. ALL DONE! Congratulations!
Sony Xperia Z5 Compact Teardown
VIA: IFIXIT


